Time:2026-07-24 06:23:17 Source:Sanjian Meichen Steel Structure
Have you ever spent sleepless nights worrying a steel factory project would slip out of control—costs creeping up, deadlines missed, quality suffering? Unfortunately, that fear is not imaginary; it happens all the time in this industry. But there’s a roadmap to get you through.
The safest, most cost-effective way to build a high-performing steel factory is to work through a precise step-by-step process. Start by defining business requirements; follow with geotechnical and code compliance, coordination, detailing, then procurement, fabrication, and careful erection. Lock decisions early, especially on cranes and coatings, and you’ll sidestep many hidden risks.
From years in steel contracting, I’ve seen how one missed detail can set off a domino effect. I used to watch teams scramble when a minor process change forced a major steel redesign, or when “minor” anchor-bolt mistakes added weeks to schedules. That’s why I’m obsessed with process. Let’s dig into each critical step, using actual examples and quick tips you can use tomorrow.
If you don’t start with a crystal-clear map of what your factory must accomplish, changes will drive costs and cause delays. I’ve watched entire projects stumble because no one locked in crane specs up front.
At this stage, nail down the machinery layout, EOT crane specs (capacity, span, class), clear heights, bay sizes, floor loads, and requirements for insurance, fire, noise, and environment. Get owner sign-off on a Basis of Requirements (BoR), a draft layout, and a load list—these anchor the entire project.
On a petrochemical job, we spent days mapping out every tank, mixer, and crane—right down to emergency egress routes—before drawing a single line. I remember a heated argument about crane tonnage. The owner pushed for bigger cranes "just in case," while the engineer warned about structural costs and headroom. After many whiteboard sessions, we froze the requirement early. That single decision saved us three weeks on design changes. My strict rule now: No one touches steel design until every EOT crane, future expansion bay, and load spec is frozen and signed by both owner and insurer. I promise, this level of discipline pays dividends later—especially when you’re fighting schedule creep.
| Key Factors to Lock Early | Why It Matters | Tip for Success |
|---|---|---|
| Crane capacity & span | Drives steel size & layout | Get OEM drawings/approval |
| Machinery footprints | Workflow, utility routes | Mark with physical tape |
| Bay spacing & clear heights | Process flow; cost | Optimize for expansion |
| Floor and roof loads | Structure, safety | Get data from vendors |
| Owner/insurer safety & fire codes | Critical for handover | FM approval pre-design |
Would you risk your whole project on a guess? If you don’t map the land under your steel, you might face settling slabs or corroding bolts—for years to come.
Geotechnical surveys, like soil boring, SPT/CPT tests, and groundwater checks uncover risks before you build. This guides choices between footings, piles, or rafts and shapes your site drainage and corrosion protection plan.
I’ll never forget a project in South Texas. We skipped a rigorous geotech survey—trying to save time—and ignored high groundwater tables. Six months after completion, anchor bolts showed severe corrosion, tanks had shifted, and the repair bill was soul-crushing. Now, the first thing I insist on is hiring credible soil engineers. We mark every utility on a map, review subsoil aggressiveness for sulfate, and specify anchor bolt tolerances down to the millimeter. I always insist on cast-in templates for bolts because pulling out and re-setting bolts costs so much more than getting it right the first time. One project where we set bolts right shaved off five days during steel erection. That’s how you create breathing space in your schedule.
| Geotech/Survey Checks | Outcomes Influenced | Best Practice |
|---|---|---|
| SPT/CPT, soil coring | Foundation type & thickness | Always do multiple test pits |
| Groundwater and sulfate check | Corrosion & materials | Review annually for large sites |
| Topo survey & utility mapping | Excavation/earthwork plan | Update maps as site changes |
| Anchor bolt tolerance | Erection speed & accuracy | Use cast-in steel templates |
Cutting corners on codes or structural loads might feel fast—until your building can’t get permitted or insured. I’ve never seen this gamble work.
The answer: Start with the right code for your location (AISC, EN, AWS, FM) and list every relevant load: wind, seismic, snow, cranes, floor, and collateral services. Put it all in a clear Basis of Design (BoD) document—approved by client and insurer—before design kicks off.
There was a factory in the Midwest where an EPC forgot to account for interior mezzanine loads in their first BoD. It led to urgent field retrofitting, which meant double-shifting the steel team. Since then, my checklist is ironclad: I sit with the engineer, check off every load scenario, and personally confirm the serviceability criteria with the crane vendor and the client’s insurer. That L/600 deflection? I check every calculation. In petrochemical or marine environments, coatings (ISO 12944) also get into my BoD to avoid substitutions that can sink an FM approval. The result? My projects are usually the first to get through permitting and insurer handover—which is a quiet win for any EPC project manager.
| Design Code/Load | Key Parameters | Who Approves |
|---|---|---|
| AISC/EN/GB, AWS, FM | Structure, crane, fire, coatings | Structural/Insurer/Authorities |
| Wind, seismic, snow | Site-specific data | Checked by engineer |
| Deflection (e.g., L/600 beam) | Crane, floors, service loads | Client/Process team |
| Special: coatings/fireproofing | FM Global/ISO 12944, PFP zones | Insurer/Building inspector |
Choosing the wrong system forces expensive fixes later. If you use a lightweight pre-engineered rafter for a heavy crane, fatigue cracks will haunt you within years.
Match your structural system to the process: Portals for simple spans and no cranes, hot-rolled for cranes (10t–35t), hybrids for tough combinations. Always check corrosion class (galvanizing vs. duplex paint) and fire/thermal requirements for your industry.
I remember a case where the EPC insisted on a PEB solution for a heavy machine shop. After six months, crane rails showed persistent misalignment and abnormal bearing wear. We had to cut and replace entire beams and realign crane brackets—a nightmare no manager wants. Since then, on any project with cranes over 10 tons or aggressive operation, I insist on hot-rolled girders and welded brackets, even if it means slightly more steel. The upfront cost is a small price for years of operational uptime. For food, chemical, or marine clients, I add a robust coating or galvanizing for durability, and I always verify that the coating spec matches the real corrosion environment—no skipping ISO 12944. Making the right structural call here pays off in maintenance-free years and fewer call-backs.
| Structural System | Typical Use Case | Key Considerations |
|---|---|---|
| PEB | Light industry, no overhead cranes, fast build | Cheaper, limited lifespan |
| Hot-rolled | Heavy cranes, high fatigue, wide spans | Costlier, but robust/safer |
| Hybrid | Process + office/complex crane needs | Custom design, more flexible |
| Corrosion System | Marine/chemical/fire zones | Specify duplex/galvanized |
Without real 3D coordination, you can expect frequent clashes, RFIs, and physical rework on-site. Every clash costs time and faith with the owner.
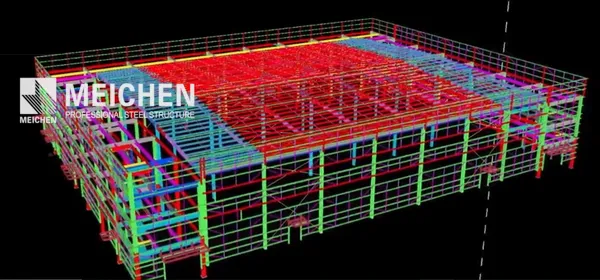
Use BIM tools (Tekla, Revit, Navisworks) to create a live 3D model that matches steel, machinery, MEP, and cranes. Perform clash detection, sign off with all trades, and issue “as-coordinated” shop drawings—this saves months of frustration and hidden costs.
One job stands out—an industrial park expansion where cable tray routes and steel clashed all over the place because the teams only used 2D overlays. Half my team spent weeks moving purlins and adding unsightly penetrations. We lost two months, and it soured relationships with both the client and our own field crew. Since adopting 3D BIM, surprises disappeared. Model everything: cranes, utilities, roof drains, and even ladders. I won’t issue shop drawings until the clash report is “zero critical.” If you’re in a hurry, trust me: 3D upfront is always faster than field guesswork.
| Coordination Task | 3D BIM Outcome | On-site Risk if Skipped |
|---|---|---|
| MEP & structure integration | Zero clashes/field fix | Multiple steel/member changes |
| Crane runway/rails | Guaranteed rail tolerance | Expensive align/rework |
| Roof drains/thermal joints | No interference | Blocked drainage/expansion |
| Fire barriers, equipment | FM insurer pre-approval | Permit/final handover risks |
Many EPC managers think winning on cost and time ends after design. The real battle happens in procurement, fabrication, delivery, and erection—and the details matter.
Implement a transparent procurement plan, freeze anchor-bolt and connection philosophies early, verify vendor capacity, and ship by erection sequence—not package. On-site, use turn-of-nut or DTI for bolt tension, follow erection method statements, and insist on documented QA/QC at every step.
A recent lesson: We reserved galvanizing capacity for an 800-ton job four months ahead. When Q4 hit, everyone else scrambled; we sailed through. I put everything into checklists, from bolt marking to paint DFT logs. I always push hard for shipping by erection sequence—it easily saves a week per thousand tons over random truckloads. During erection, my team checks plumbness with survey gear, and we never remove temporary bracing without two stable bays plumbed. Every process step gets a QA record: weld maps, bolt tension checks, and as-built surveys. This isn’t bureaucracy—it means when the project closes, you breeze through handover and keep warranty work to a minimum.
| Procurement/Fabrication | On-site Erection & QA | How You Win |
|---|---|---|
| Long-lead item tracking | Erection by sequence | Schedule slippage is eliminated |
| Galvanizing capacity hold | Bolt tensioning logs | Quality assured/inspections pass |
| Shipping marks by area | Temporary work/brace plan | Safe/fast, fewer field errors |
| Shop/fab QA records | As-built & post-erection QA | Easier warranty/insurer handover |
By treating each step as essential, locking decisions early, and using lessons learned from real projects, you protect your steel factory’s cost, quality, and schedule—and your own peace of mind.
Steel Structure Workshop Solutions
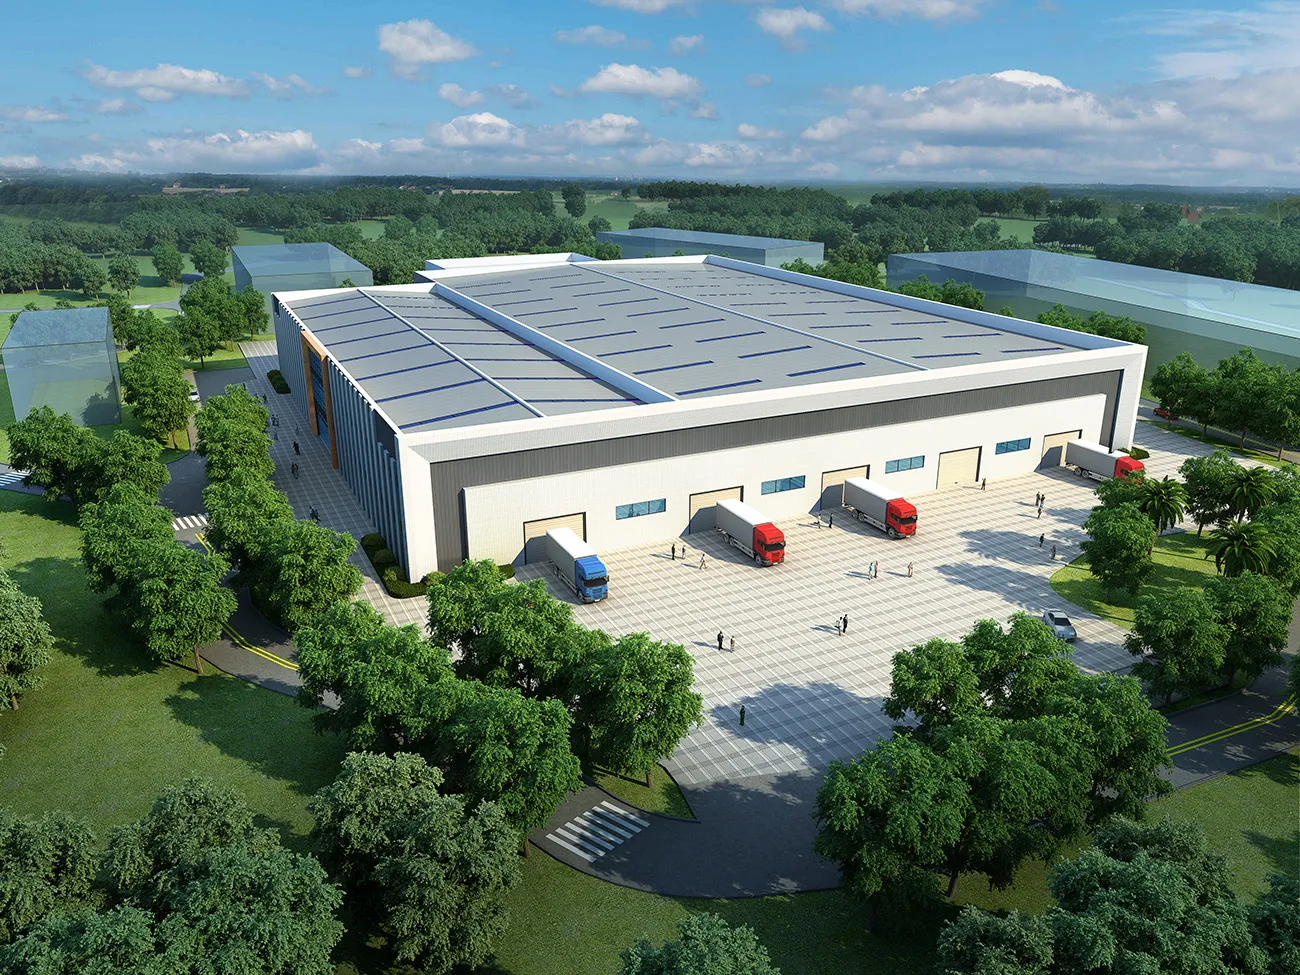
Steel Warehouse Solutions
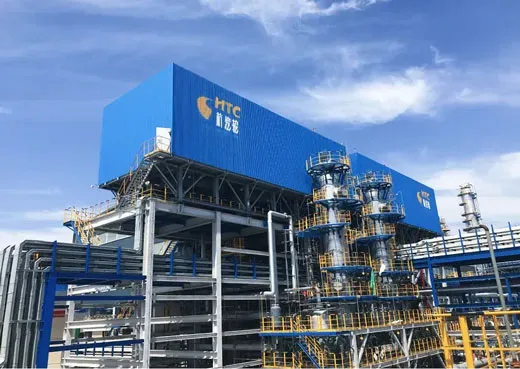
Heavy Steel Structures for Equipment
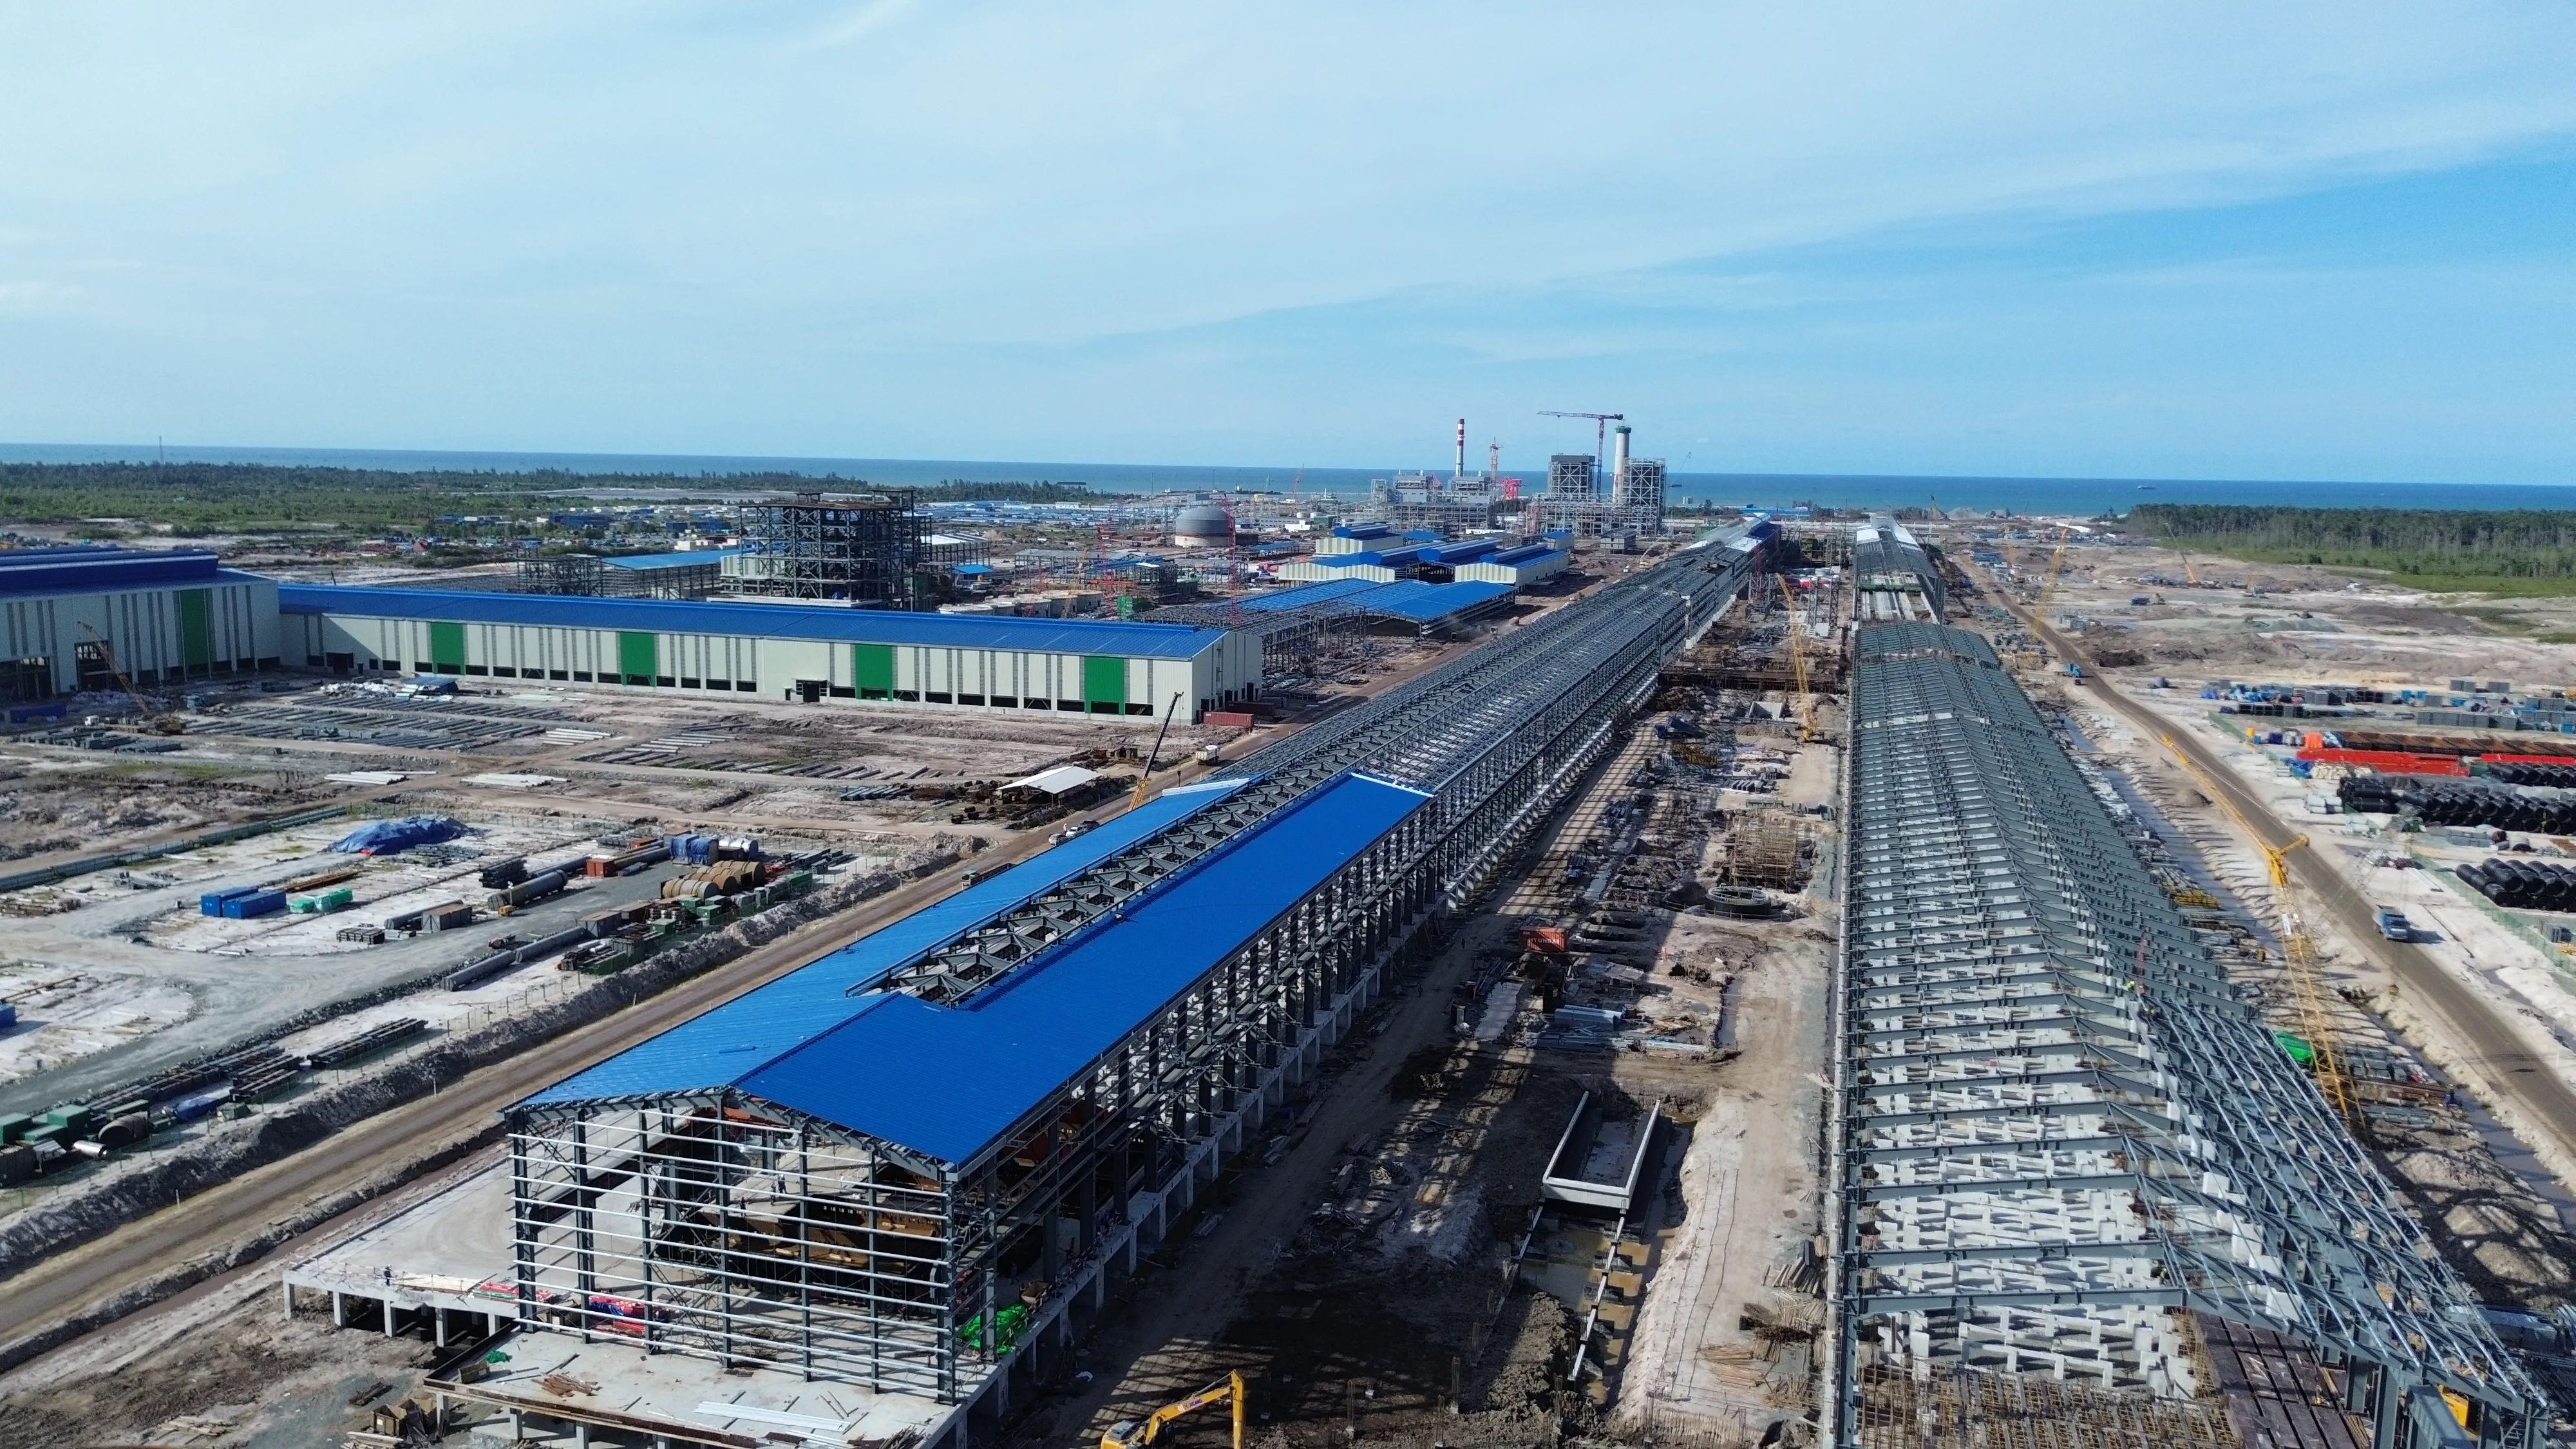
Indonesia North Kalimantan Aluminum Plant Project
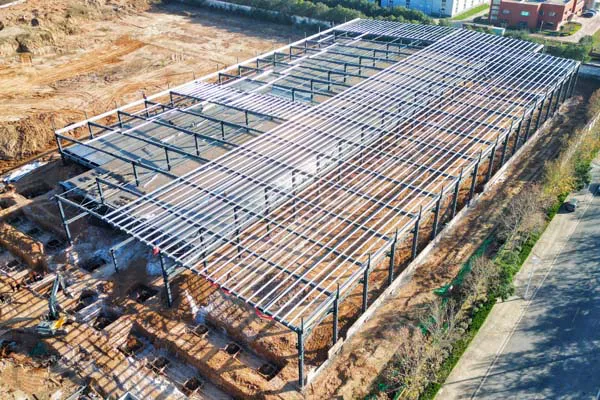
Luoyang Haode Auto Parts Steel Structure Factory Project
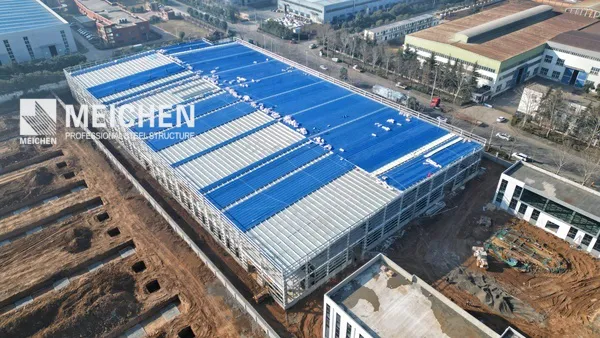
Automated Glass Production Line Steel Structure Factory Building Project
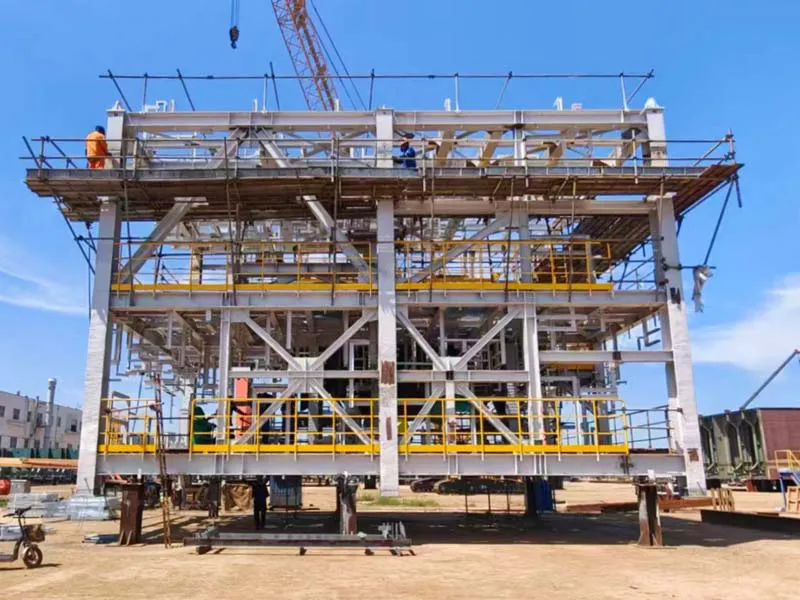
Oil & Gas Modular Steel Structure Fabrication Project
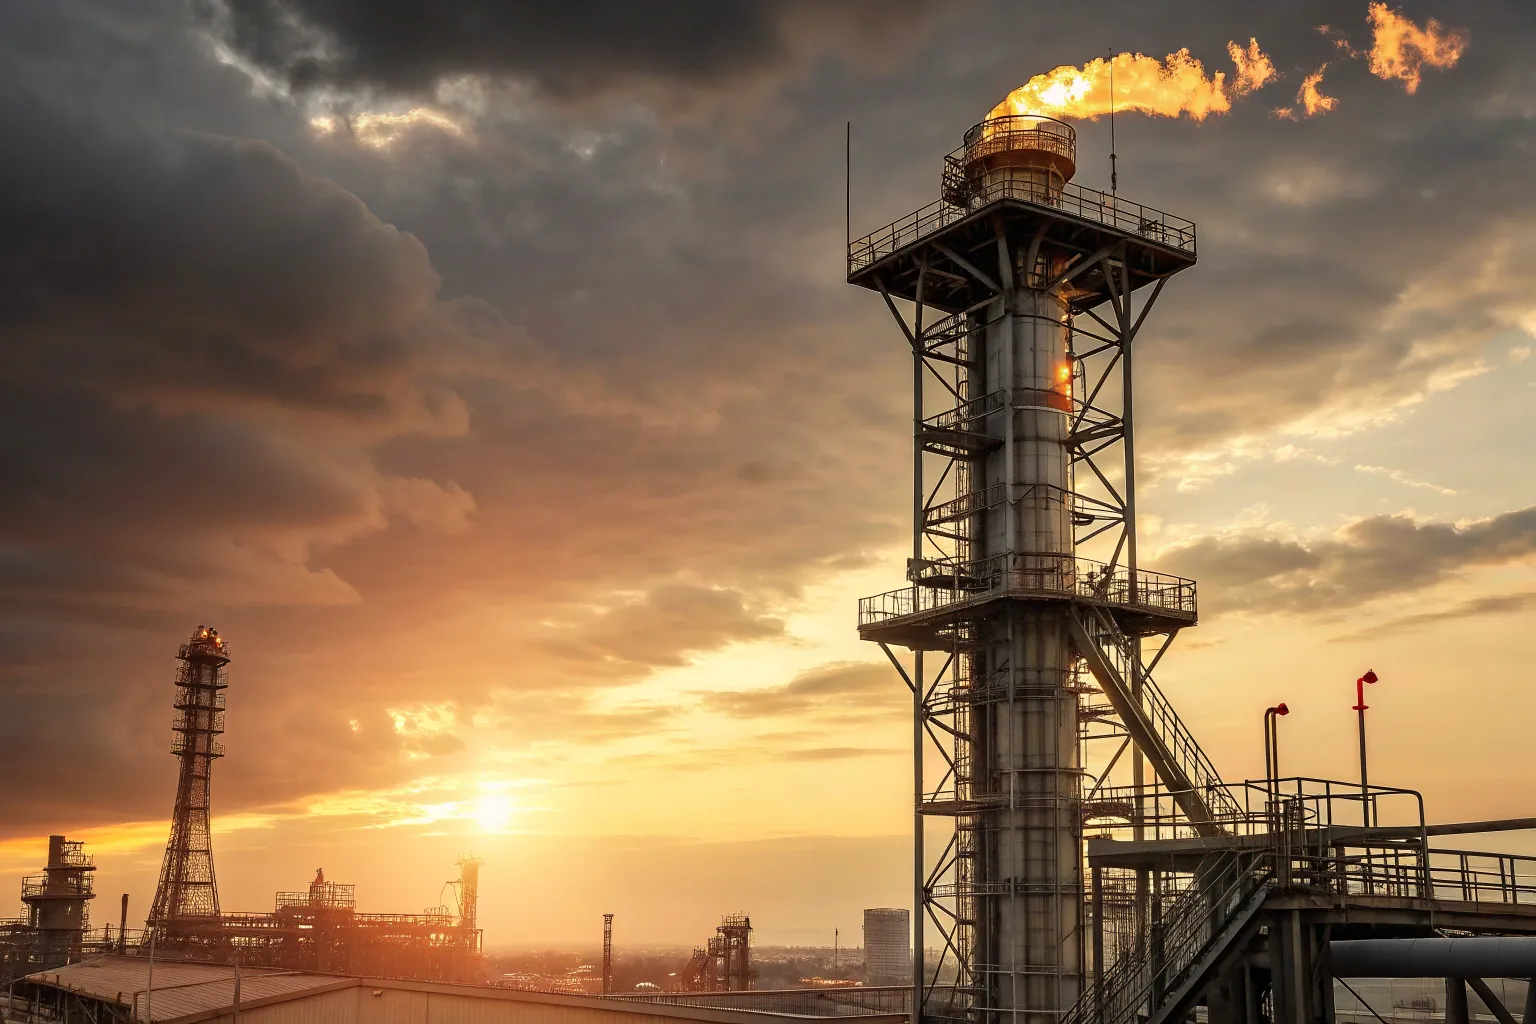
Flare Stack Structure